

If you have just applied for GST registration, you may have been wondering — “Have they accepted my application? Is it approved? Is something wrong?” We’ve all found ourselves in that situation. That confirmation wait can be stressful, particularly if your business is dependent on that confirmation.
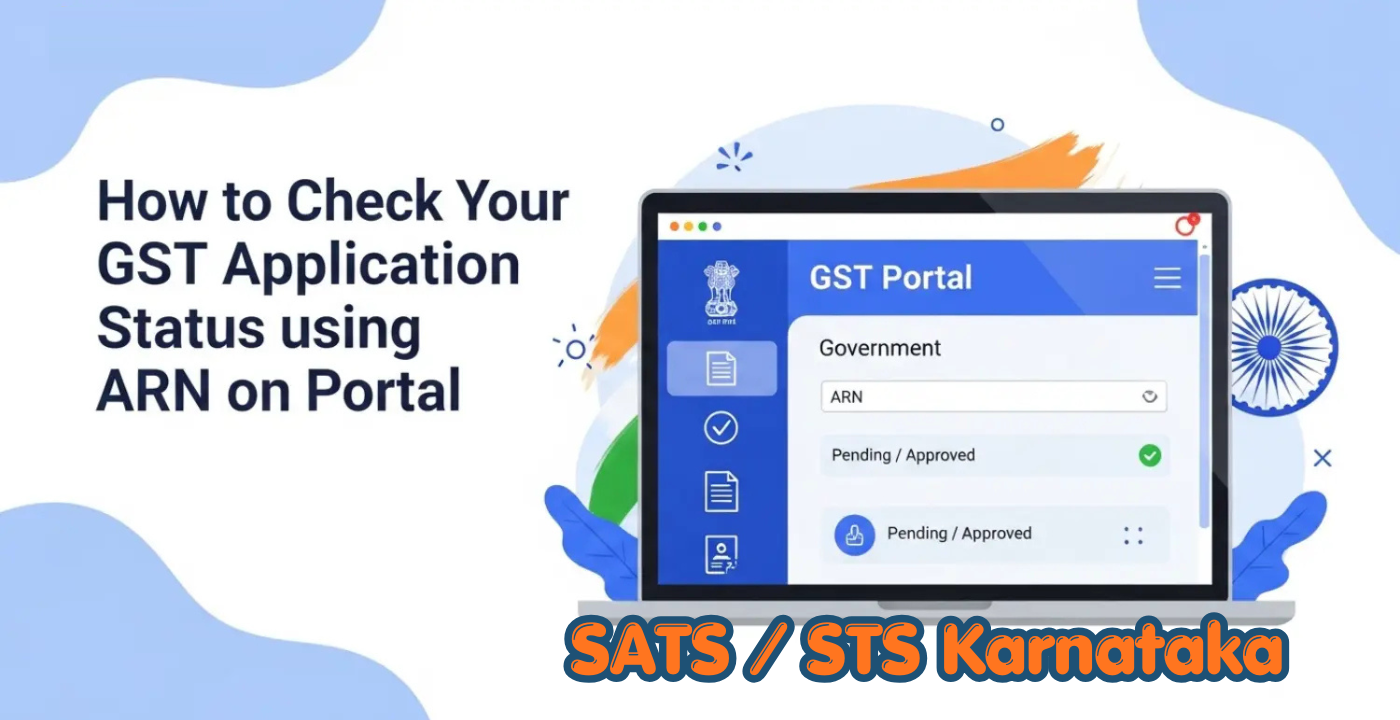
The great thing is, you don’t need to be sitting on your ass and wondering. You can easily find out where your app is at. It’s called the Application Reference Number, or ARN for short. You can keep monitoring your GST registration status at any time from the official GST portal using this number.
In this article, I’ll go through what ARN is, how to use it to determine your status and what each status message really means. There are no confusing terms, no complicated jargon; just things you can do now.
What Is ARN in GST?
Application Reference Number (ARN). It is a 15-digit code comprising letters and numbers. This number gets automatically generated upon submission of the GST application at the time of registration.
It’s similar to the tracking ID you receive when you place an online purchase. You use that ID to find out where your package is, and ARN to find out where your GST application is in the process.

This number remains with your application throughout the review process of whether it is approved, returned for revision, or rejected. It’s the only place you can find information about your registration. So don’t lose it. Save it in a note, save it in your phone or take a screenshot. You’ll need it.
How to Check GST Registration Status Using ARN
GST Registration Status by ARN: Steps to Check GST Registration Status Using ARN.
You can easily check your status. There is no need to be a techno-savvy person. Simply do the following:
Step 1: Go to the GST Portal
Go to the official GST website, http://gst.gov.in. Be sure that you are on the official government site and not some third-party site.
Step 2: Find the Track Application Status Option
On the home page, scroll down to the “Services” menu on the top. Click on this and then click on “Registration. Then, click on “Track Application Status. This is the place where the magic takes place.
Step 3: Enter Your ARN
You will be able to see a field for ARN. Enter the complete 15-digit number as provided. Do not include spaces, don’t mix letters and numbers — proceed with care.
Step 4: Fill in the Captcha
Just below the ARN field, there will be a captcha image containing some letters or numbers. Write exactly as written in the box provided. This is to ensure you are a genuine user, not a bot.
Step 5: Click Search and See Your Status
Click on the “Search” button. The portal will let you know the status of your GST registration application within seconds. There’s no waiting, no calling anyone, no running around.
There are multiple formats of GST ARN that are available.
Read Also: Get the Best Productivity Chrome Extensions to Save Time
There are different types of GST ARN
Application Status
When checking your status, you may get different messages. These are some definitions in simple terms:
Submitted
This indicates that your application is successfully sent to the GST department. They have taken it in. No need to fear, you are in the system.

Pending for Processing
Your application is on the waitlist and will be considered by an officer. This is normal. It may take some days, depending on the workload, sometimes even more. Be patient and wait for some time before you look again.
Validation against Error
This one indicates that your application has been reviewed, and there are some problems. Perhaps there’s a document missing or some information is not congruent. There will be a need to investigate the problem and correct it.
Resubmission Request
In case this is observed, the GST officer is asking for rectification and resubmission of the application. No need to worry — it’s common. Use the comments to your advantage, make the necessary corrections, and submit again! A new ARN will be provided and the process will repeat.
Approval
This is the one that you want to watch. It indicates that your registration as a GST agent is successful. Congratulations! GST certificate can now be downloaded and you can now use your GSTIN for your business.
Rejected
This means that your application was not successful. This might be due to incorrect information, missing documents or failing to meet eligibility requirements. If this occurs, you need not be concerned – just re-apply. Simply learn from the previous application and correct the issue before re-application.
Final Word
It is not necessary to get yourself a headache to track your GST registration status. Using the official GST portal along with your ARN number, you’ll be able to find out precisely where you’re at in just a few minutes. You don’t need to call lots of offices or call numerous numbers!
Remember, keep your ARN safe, review your status continually and be prompt to resubmit/repair where required. The earlier you do, the earlier you’ll have your GST registration in place.
But if you’re still confused and have no time to do all this yourself, you can always call GST experts who can do the work for you. Concentrate on running your business; let the specialists do the paperwork.
Read More: Cnlawblog.com Review: Is It a Trustworthy Legal Blog?
